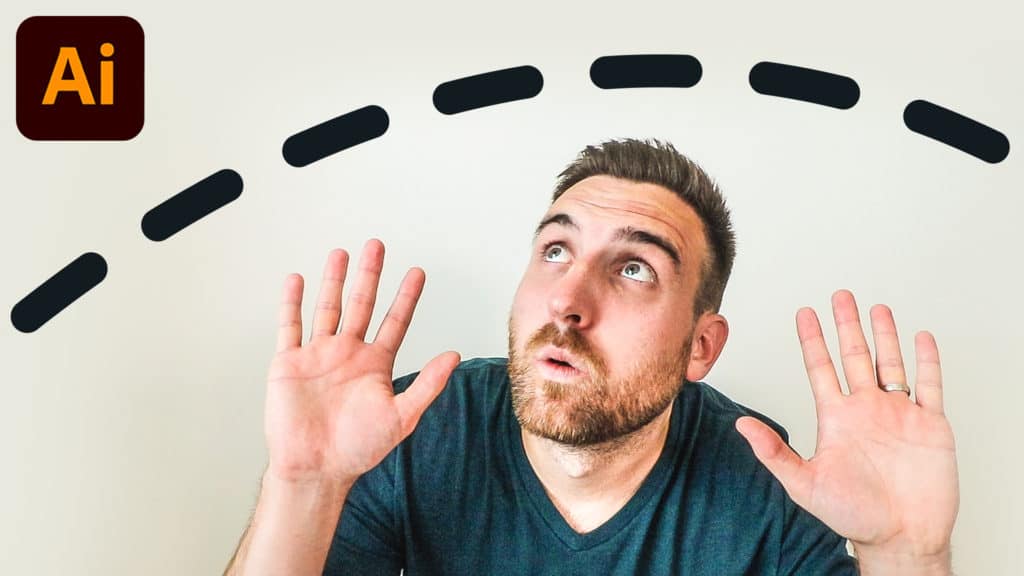
How to Make a Dashed Line in Illustrator
I often find even the most simple tasks can seem to be hidden in Adobe Illustrator. One of those is adding dashes to your shapes and lines. If you want to make a dotted line the steps are very similar, but everything you need to know about how to make a dashed line in Illustrator is in this tutorial.
To make a dashed line in Illustrator, select your line or shape and navigate to the Appearance panel. Click on “Stroke” to open the stroke options. Select “Dashed Line” and set your stroke weight, dash, and gap values.
As a designer, you want full control and understanding of your effects in Illustrator. By the end of this dashed line tutorial, you’ll know the ins and outs of how to make a dashed line in Illustrator.
Step by Step: How to Make a Dashed Line in Illustrator
To make a dashed line in Illustrator, you need to adjust the stroke options in the Appearance panel. If you’re a beginner, let’s take a look at each option and how to achieve your desired look.
Step 1: Adding a line
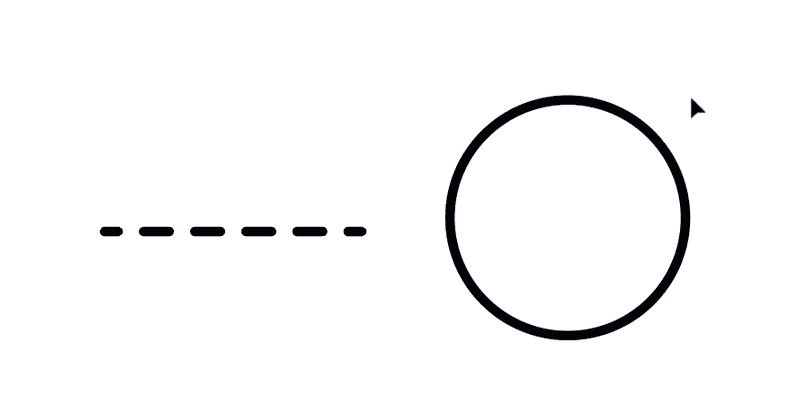
First, we need a line or shape. Using the shape tools, the pen tool, or the line segment tool, create an object on your artboard. The shortcut for the pen tool is P.

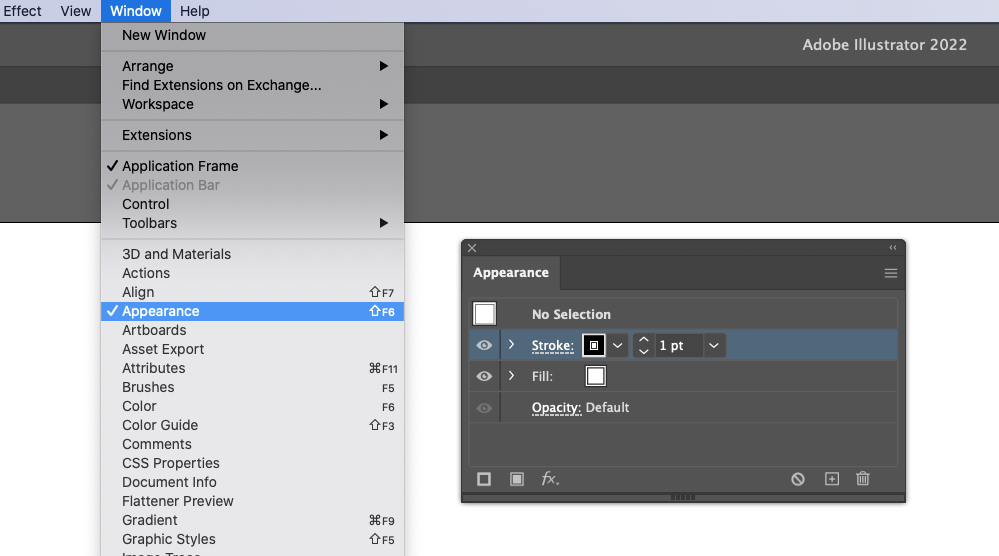
Step 2: Open the Appearance Panel
Navigate to the Appearance panel by going to Window > Appearance in the overhead dropdown menu or use the Appearance panel shortcut key Shift + F6.
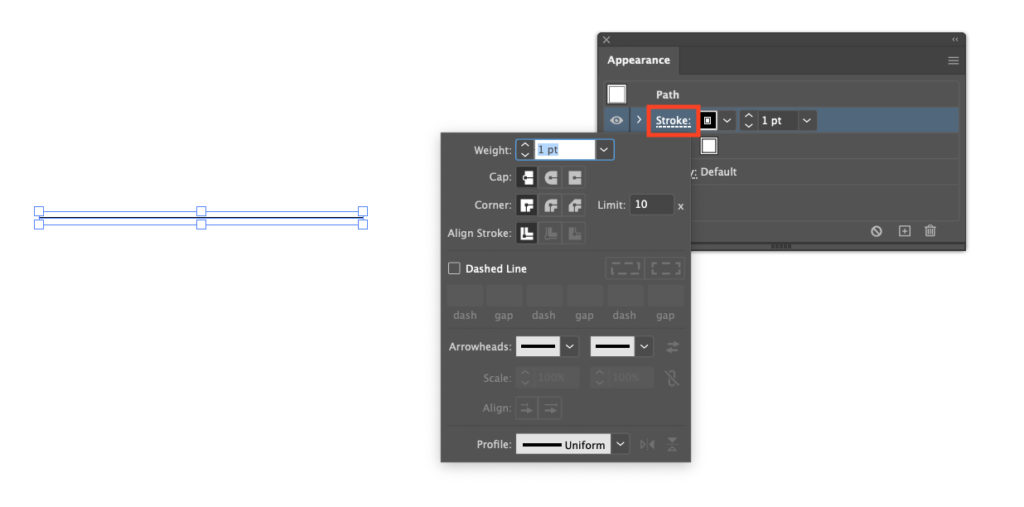
Step 3: Open the Stroke Options
Make sure the shape or line you created is selected. Then click on Stroke in the Appearance panel to open the stroke options dialogue box.
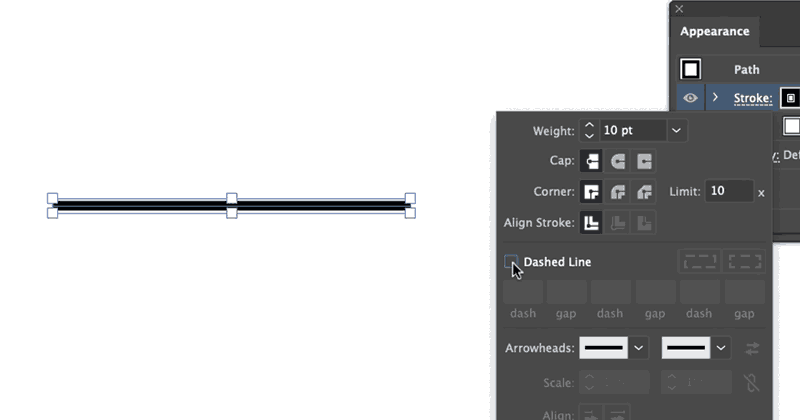
Step 4: Creating a Dashed Line
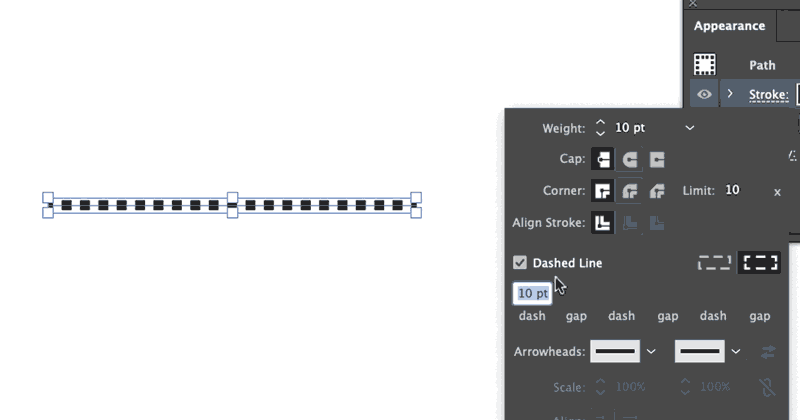
Check the box next to Dashed Line to create dashes. Your dashed line may look different than mine depending on the values in each box.
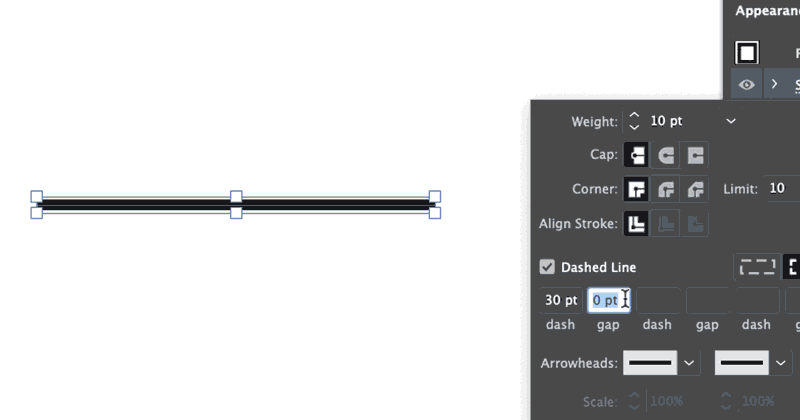
Step 5: Adjusting Dash Size & Weight
Adjust the weight of your stroke, the dash value, and the gap value to get your desired look. You can set specific values, or use the up and down arrow keys to adjust them. You can also hold Shift while using the arrow keys to jump larger values.
Step 6: Adjusting Dash Spacing
You can adjust the spacing of your dashes by adding a value to gap. This will be the distance between each dash. You can also add multiple dashes and gaps if you’d like.
There are two different gap options. The first option preserves the exact dash and gap lengths. The second option aligns the dashes to the corners and path ends, adjusting the lengths to fit. In the image below, you can see the difference this makes between the two rectangles.
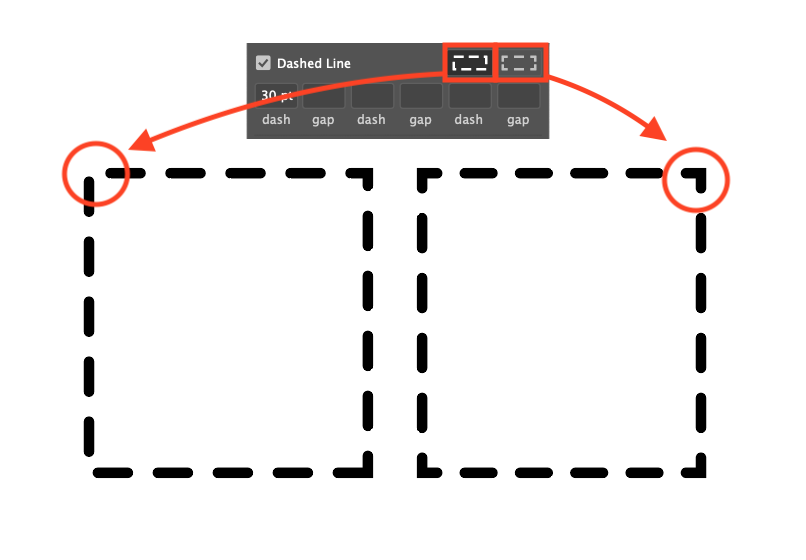
In my opinion, unless you need an exact dash or gap length, the option to adjust the length has the cleanest look to it.
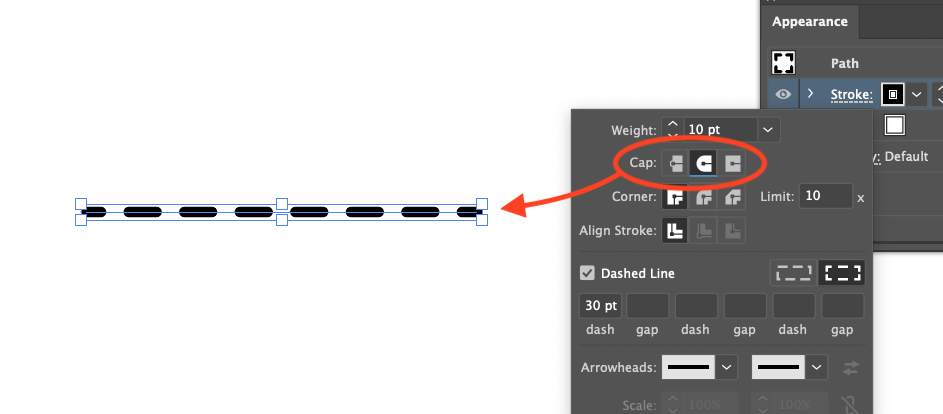
Step 7 (Optional): Rounding the Dashes
If you want your dashed line to have round edges, you can adjust its Cap. Selecting the middle option will round off the sharp corners.
Video: How to Make a Dashed Line
I created a video tutorial on how to make a dashed line in Illustrator. If you learn better through video explanation, you can watch it and let me know in the comments if you have any more questions!
FAQ
You may have some of the same questions as other graphic designers. Let’s take a look at some common questions around adding dashed lines in Illustrator.
How do I copy a dashed line to other shapes?
If you haven’t used the eyedropper tool yet, now is the time. It’s saved me countless hours by allowing me to copy the stroke and fill of one shape to another.
In this case, you don’t need to recreate your dashed line every single time. Select the new shape you’ve created and pull up the eyedropper tool. The shortcut key for the eyedropper tool is I. With your new shape selected, all you need to do is click on the shape or line that includes the dashed line and it will apply it to your new shape.
Why is the dashed line not working in Illustrator?
I’ve seen a few instances where other designers have struggled to get the dashed line to appear, or it’s appearing in a weird way. Make sure nothing is locked in your layers panel and that you have the correct object selected. Dashes can only be applied to strokes. Sometimes, our objects look like strokes but they are actually filled or have been expanded. Make sure you are working with an actual line.
Another spot to check is in the Appearance panel. You want to make sure that your object doesn’t have multiple strokes interfering with one another. If it does, try reducing the number of strokes, or applying dashes to each one.
How do I make text dashed in Illustrator?
When you add text to your Illustrator project, it’s very similar to a shape with a stroke and a fill.
If you don’t have any type in your document, use the shortcut key for the type tool by pressing T. Then click anywhere on your artboard to start typing text.
Using the same steps as before, go to the Appearance panel and adjust your stroke options to add a dashed line around your text.
You can also watch the video tutorial above to look at all the options you have when adding dashes to your text in Illustrator.
Conclusion
Once you find the right properties, adding a dashed line in Illustrator is very simple. Using the Appearance panel and stroke options allows you to make many adjustments to create the desired effect for your project!
For more Illustrator tutorials, take a look at my Illustrator YouTube Channel.

Spencer Martin
Spencer is a graphic designer and content creator who creates educational tutorials. He graduated with honors from Ball State University and received a BFA in Visual Communication. Today he is the Director of Content for Pacers Gaming and runs Pixel & Bracket LLC, an educational resource for creators.